
Donut Candle Holder Using Pottdpeople
Donut Candle Holder Using Pottdpeople Clay Kit
AIR DRY CLAY PROJECT
1/31/20251 min read
Create adorable heart-shaped trinket dishes with the SCULPD Air-Dry Clay Kit—perfect for holding rings, jewelry, and small keepsakes! This beginner-friendly project is easy, fun, and requires no kiln.
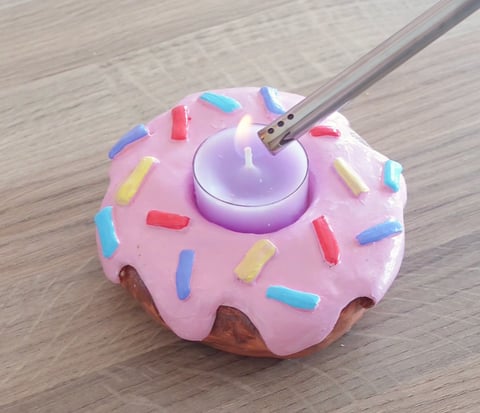
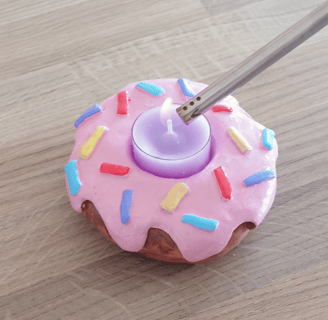
DIY Donut Candle Holder
Create the cutest donut-shaped candle holder using air dry clay! This fun and easy DIY project lets you craft a playful, sweet design that's perfect for any space. With a simple air dry clay kit, you can shape, paint, and personalize your donut holder to add a quirky touch to your decor. Perfect for beginners and seasoned crafters alike, this project is sure to bring a smile every time you light a candle!
Credits: @pottdpeople


Instructions
Knead and roll your clay to about approximately 25-30cm circle (will depend in your tea light size) that is 4-5cm thick. This is your donut base
Using ribbon tool cut out circle hole in the middle of your clay check the tea light candle fits
Smooth surface using damp sponge
Knead and roll out a separate clay piece approximately the same size as your donut base that is 1cm thick
Using the needle tool create curves along the edge to create donut icing on top
Smooth edges and place over the donut base.
Gently using your finger, indent the middle to create a crevice for the tea light candle
Roll out thin strips of clay that are approximately 0.5cm in width.
Cut the thin strips into different size length to create the donut sprinkles
Score ( create lines on the surface of the clay using needle tool and apply thin layer of water to help pieces adhere properly) the donut base and add donut sprinkles
Let clay dry for 24-48 hours
Coat with white base and let it dry
Using acrylic paints, paint donut your desired colour
Coat with special gloss varnish
Create your own donut today!
Privacy Policy
This website is a participant in the Amazon Services LLC Associates Program, an affiliate advertising program designed to provide a means for sites to earn advertising fees by advertising and linking to amazon.com.
COPYRIGHT @2025 ACRAFTLIFE | ALL RIGHTS RESERVED